Remix IDE
Welcome to this section. Here, you will learn about the basics of Remix IDE. Remix is a browser-based IDE (Integrated Development Environment) for writing Solidity. We will be utilizing this tool while learning about the fundamentals of the language. After we have a solid grasp of the fundamentals, we can move to more advanced tools like Hardhat.
info
We are using Remix to avoid dealing with the local development environment and focus on Solidity Language fundamentals more than anything else. You will see things like "JavaScript VM(Berlin)." Don't sweat it. You will understand them as you move ahead in modules.
So, let's dive into Remix IDE.#

You will be greeted with a screen like above when you first visit the website. There will be some pre-loaded contracts, scripts, and tests. On the left hand-side you have four fundamental options/tabs namely File Explorer, Solidity Compiler, Deploy and Run, and Plugin Manager respectively. They are pretty self-explanatory but here's how your typical workflow will be:
You will write your smart contract(s). You can use this file explorer to create folder and files and also navigating through them. (You can also click on it to toggle it's visibility)
Then you will select that Solidity Compiler (second option) to select your compiler version and compile your code. This compiles your Solidity code into byte code so that EVM (emulated EVM, we are not using actual mainnet to avoid paying for gas) can understand that. That's the fundamental job of a compiler. There is an option for auto-compile but I prefer to keep it off and would suggest to do so.
Deploy & Run, this is where you can deploy your contract. In addition to that, it gives to sort of a playground to test what if your code runs as you expected it to.
Plugin Manager, as the name states you can manage your plugins here. Plugins allows us to use third-party modules/libraries like "Etherscan verification," "3Box Spaces," "Solidity Compiler," etc. A couple of them will be already activated there which you can see by clicking on it. But we will not really spend anytime there. By the time we need to use them, we will be using Hardhat.
Let's create a directory/folder for our code.#
Here, we will be creating a folder to store code you will be writing while following modules of this cookbook. Navigate to you left hand section, click on the file-explorer to make sure we are there.
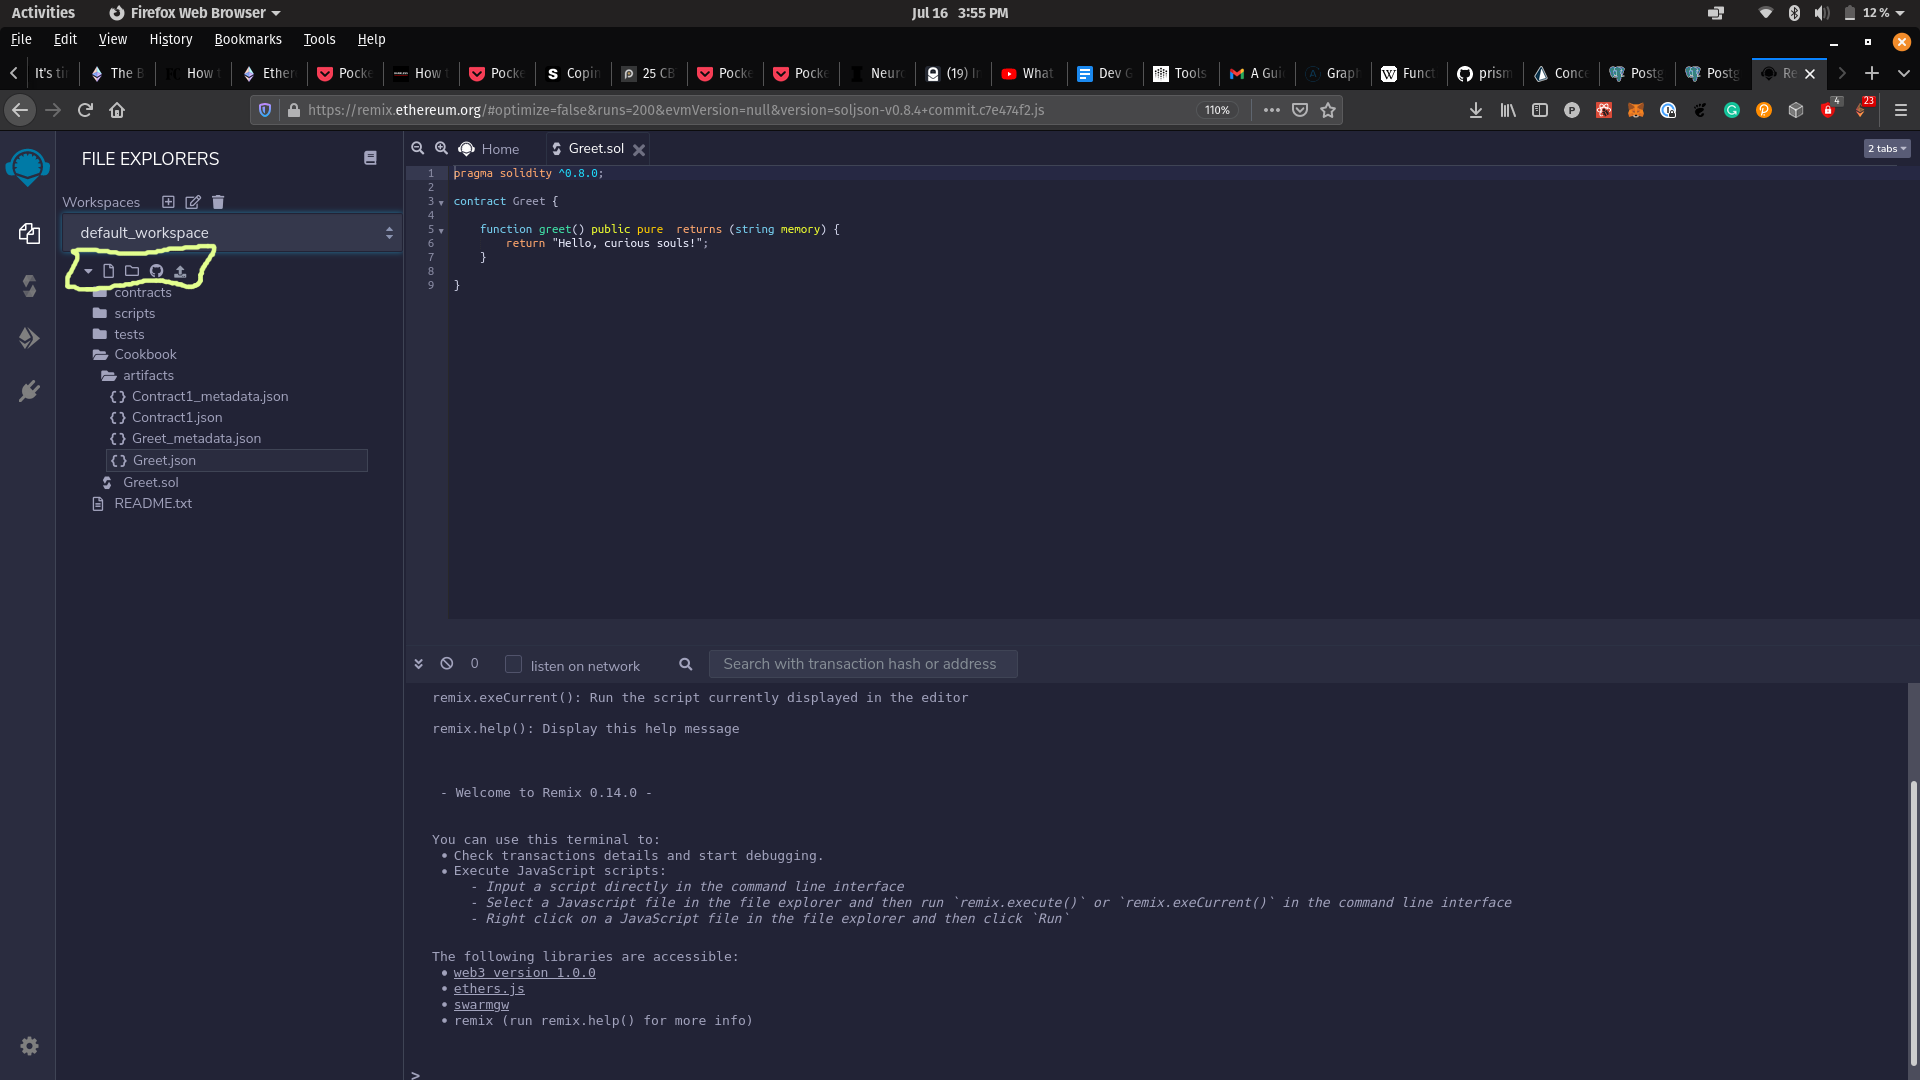
We have four options here.
- Create a file.
- Create a folder.
- Publish all of current work to GitHub.
- Load a local file.
Go ahead with the second option and create a folder. You can name it anything you want. We will be keeping our files in this directory.
From next module onwards, we will get our hands dirty and write some solidity.